
How to make candles: a step-by-step beginner's guide (with real measurements)
October 11, 2026 · 4 min read
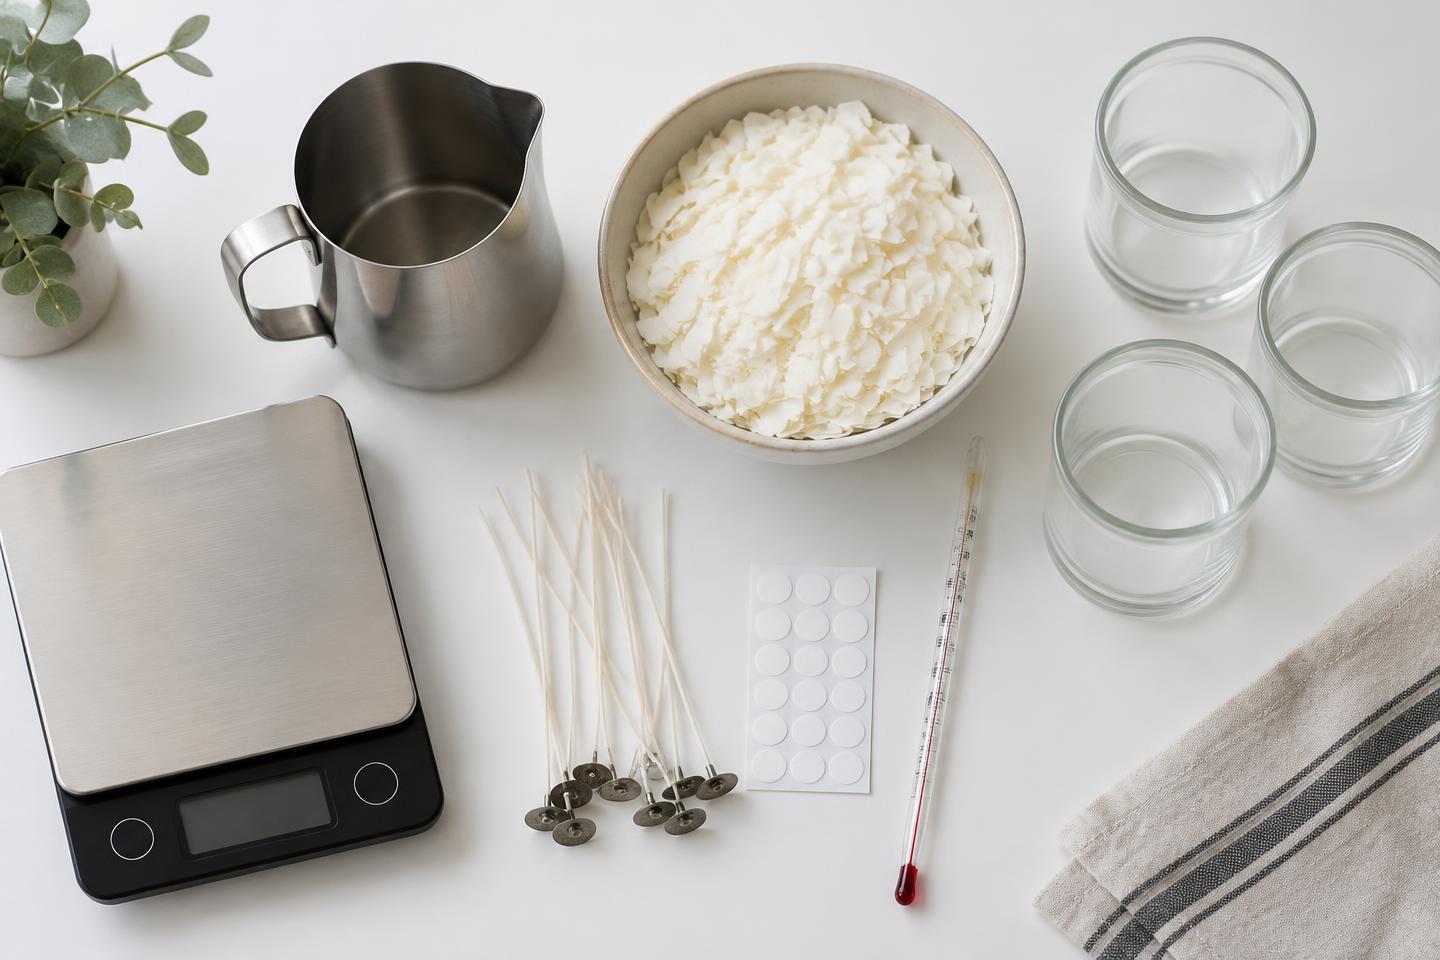
The short answer: to make a container candle, weigh your wax, melt it, add fragrance oil at the temperature your wax supplier recommends, stir thoroughly, pour into a jar with a secured wick, let it cool and cure, then burn-test it before giving or selling it. The steps are simple. The part beginners skip is measuring by weight and testing — which is exactly what decides whether a candle burns well.
What you need to make your first candles
| Item | Why it matters | Beginner tip |
|---|---|---|
| Container wax (soy, coconut blend or paraffin) | The fuel and structure of the candle | Start with one container wax and learn it well |
| Wicks sized for your jar | Controls melt pool, flame and soot | Buy two or three sizes to test |
| Fragrance oil made for candles | Scent; must be candle-safe | Check the supplier's IFRA and max-load info |
| Heat-safe glass jars | Holds the candle while burning | Measure the inside diameter |
| Digital kitchen scale | Wax and oil are measured by weight | Grams or ounces with 0.1 resolution |
| Pouring pitcher and thermometer | Melting and temperature control | Never melt wax over direct flame |
| Wick stickers and centering tool | Keeps the wick straight and centered | Clothespins or chopsticks work |
How to make a candle in 8 steps
- Measure your jar's fill capacity and calculate wax and fragrance weights — the free candle calculator does this for any jar and fragrance load.
- Attach the wick to the center of the jar bottom with a wick sticker.
- Melt the wax in a pouring pitcher using a double boiler, to the temperature your wax supplier lists.
- Remove from heat and add fragrance oil at the recommended temperature, then stir gently but thoroughly for about two minutes.
- Let the wax cool to the supplier's pour temperature.
- Pour slowly into the jar, leaving headspace below the rim.
- Center the wick with a holder and let the candle cool undisturbed, away from drafts.
- Cure the candle (often several days to two weeks, depending on the wax) before the first test burn.
CandleScience's soy candle tutorial walks through the same process with photos, including temperatures for its own waxes. Temperatures differ between wax brands, so always follow the data sheet for the wax you bought.
How much wax and fragrance oil per candle?
Measure fill capacity by weight, not the jar's advertised fluid ounces. The jar fill-weight guide explains why an "8 oz jar" rarely holds 8 oz of wax, and fragrance load, explained covers why more oil is not always better.
Calculated examples using the formula above. Your actual fill weight depends on your jar and headspace.
Chart data
| Item | Value ( oz) |
|---|---|
| 4 oz fill | 3.7 oz |
| 8 oz fill | 7.41 oz |
| 12 oz fill | 11.11 oz |
| 16 oz fill | 14.81 oz |
The most common beginner mistakes
- Measuring wax and oil by volume instead of weight.
- Choosing a wick by guesswork instead of testing two or three sizes.
- Adding fragrance oil when wax is too cool, so it does not bind well.
- Burning or selling candles before they have cured.
- Skipping a full burn test from top to bottom.
Test before you gift or sell
A finished-looking candle is not a tested candle. Follow a burn-test protocol such as CandleScience's how to conduct a burn test and our wick testing guide. Never leave a burning candle unattended — the National Candle Association's fire safety tips are a good checklist for both testing and customer care cards.
Once candles burn well, the next questions are about money: cost per candle, pricing and which wax suits a business.
Run your candle business in one place
Inventory, recipes, production, wholesale and invoicing — 7 days free, no card needed.
Start free trial